This is a question that comes up for parents who are beginning to explore high-tech AAC. Sometimes it is framed around a particular diagnosis, for example, “How do I set up an AAC device for my child with autism?”
In an ideal world, my first response would usually be to ask many more follow-up questions and to recommend a formal AAC assessment. A good assessment allows a child to be seen in different environments and helps ensure their access, communication, and learning needs are properly understood.
However, I also recognise that this question often comes from parents who simply want to take a first step. Some families are not yet in a position to fund a robust, dedicated AAC device. Others want to explore high-tech AAC independently before committing further. Many already have an iPad at home and feel it is the most realistic place to begin. Some are also setting up a communication partner device, which is a brilliant place to start.
This blog is written for those situations.
It is not a replacement for assessment, nor is it intended to provide a one-size-fits-all solution. It is a practical guide to help you begin exploring AAC in a thoughtful, supported way.
What this guide assumes
For the purposes of this blog, I am making a few general assumptions. These will not apply to every child.
- Your child is likely to use direct touch as their access method
- There are no significant physical access needs to consider at this stage
- You have done some initial research into AAC apps
- You want to explore high-tech AAC in a practical, manageable way
You know your child better than anyone else. This blog is not about getting everything “perfect”. It is about helping you get started.
Let’s reframe the question
A more useful way to think about this might be:
How do I set up an iPad so it can be used to support communication?
If you are even asking this question, that is a positive first step. You are thinking about communication, access, and learning how AAC might support your child.
I am deliberately app-agnostic here. There is no single “best” AAC app. The best system is the one that works for your child, in your context, with the people around them. Everyone has to start somewhere, so choosing one app to explore is a reasonable and valid decision.
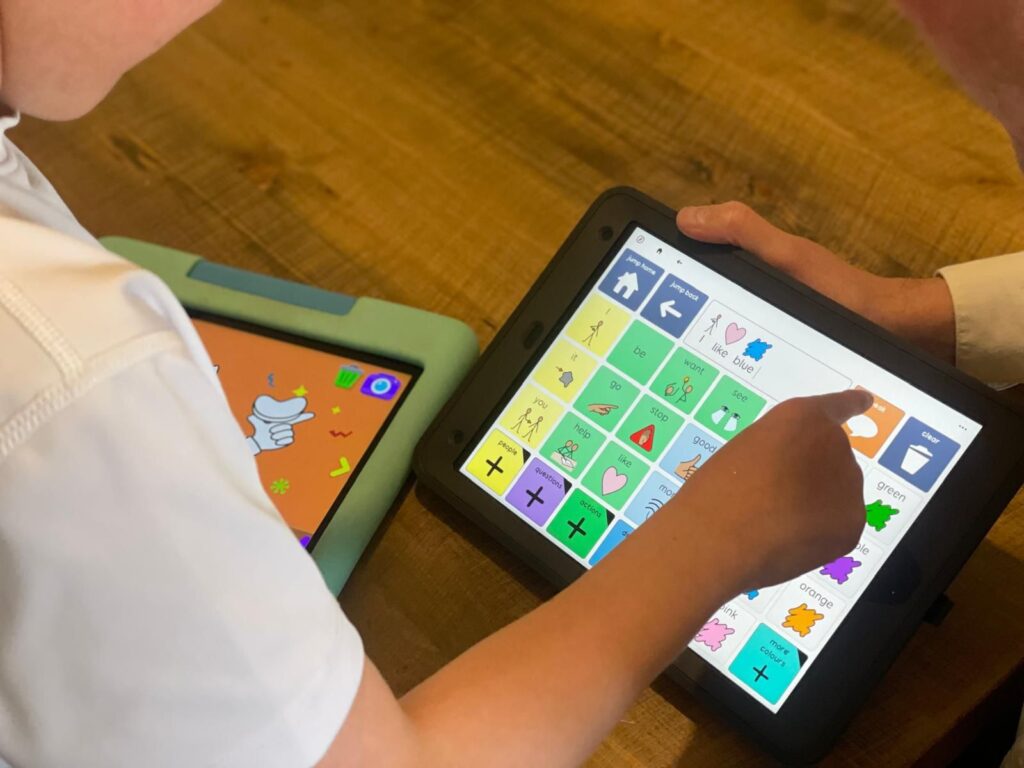
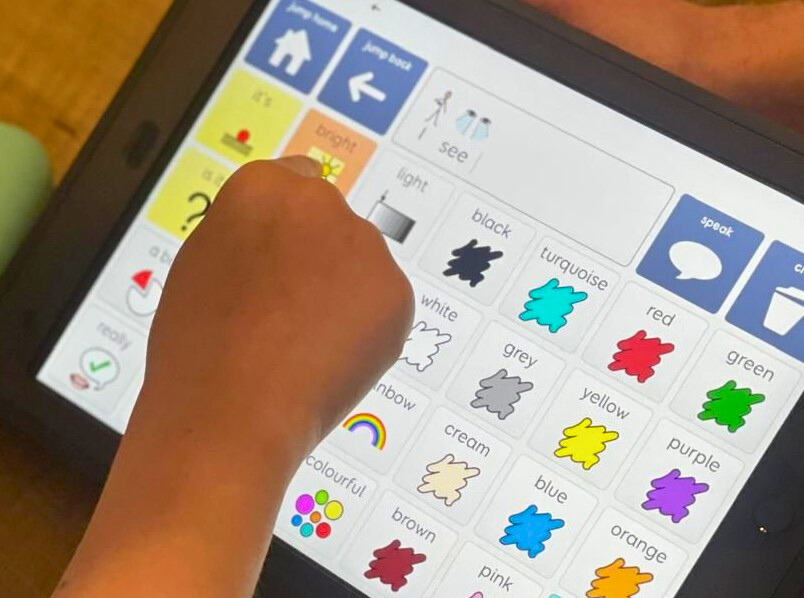
Start with purpose: turning an iPad into a Talker
Setting up AAC for a child with autism is no different from setting up AAC for any child who is new to it.
Your main goal is to reduce distractions.
You want the iPad to stop being an iPad and start being a Talker.
That distinction is important. It can help adults change how they treat the device, and it can help children understand its purpose. Some families and schools even refer to it consistently as “Your Talker” rather than “Your iPad”.
If the purpose of the device is communication, everything you do in setup should support that aim.
Step 1: Create a new Apple ID
Do not use your personal Apple account.
I regularly see devices set up using a parent or teacher’s Apple ID, which leads to messages, photos, emails, and notifications appearing on a child’s AAC device. That creates unnecessary distraction and confusion.
Set up:
- A new email address
- A new Apple ID specifically for the child
This is straightforward to do and well worth the effort. Keep all login details stored securely. A password manager such as Bitwarden can be helpful for this.
Step 2: Remove unnecessary apps
A new iPad comes preloaded with many apps that are not needed for AAC.
Delete them.
You have two options when removing apps:
- Remove from Home Screen
- Delete App
Choose Delete App wherever possible. This frees up storage and reduces visual clutter. Essential apps such as Settings and the App Store cannot be deleted, but they can be removed from the Home Screen, which is exactly what you want.
To remove apps:
- Press and hold on an app icon
- Select Edit Home Screen
- Tap the minus symbol on each app
- Choose Delete App where available
By the end of this process, the Home Screen should be calm, clear and purposeful.
Step 3: Install your chosen AAC app
Once the device is stripped back, install the AAC app you have chosen.
If you are still deciding, it can be helpful to explore apps that offer subscription models before committing to a full purchase. Many AAC apps also run half-price sales at certain times of the year, so following providers on social media or joining mailing lists can be useful.
At this stage, resist the urge to add extra games or learning apps. The clearer the device is, the easier it is for your child to understand its role.
Step 4: Protect the device
AAC devices are used all day, every day, often in busy, unpredictable environments.
I strongly recommend:
- A heavy-duty case – in a different colour if you have a second tablet to help your child differentiate between the two
- Screen protection
- Insurance, if possible
iPad repairs are expensive, and downtime without a Talker can be frustrating for everyone involved.
Using Guided Access and thinking carefully about screen locks
One feature I strongly recommend when supporting children who are new to AAC is Guided Access. Guided Access allows you to lock the iPad into a single app, in this case the AAC app, so the child cannot accidentally exit it, swipe to other apps, or access settings.
I have been teaching people how to use Guided Access for around ten years, and I still regularly show it to parents, school staff, and professionals for the first time. It is often described as a revelation. For children who are just beginning their AAC journey, it can make the difference between a device feeling overwhelming and a device feeling predictable and safe.
Guided Access is particularly helpful in the early stages, when a child is learning that this device is for communication. It supports focus without relying on constant adult intervention, and it helps reinforce the idea that the iPad is a Talker, not a general-purpose tablet.
Another important decision is whether to use a screen lock. I choose to set AAC devices up without a screen lock. The last thing you want to do is introduce another barrier that makes people less likely to use the AAC device, which is now what the iPad is. If someone needs to remember a code, unlock a screen, or ask an adult for help every time, access to communication is delayed.
Ultimately, you want the AAC device to be available to the child independently and at all times. Start as you mean to go on. Remove the screen lock and focus instead on practical safeguards. If security is a concern, make sure Find My is enabled so the device can be located if it is lost. This protects the device (being able to lock it down remotely or display a contact number if lost) without restricting access to communication.
A final thought
Learning AAC is a marathon, not a sprint.
It takes time, repetition, and patience, for children and for adults. If you are reading this blog, you probably just want to get going, and that is okay. Starting, observing, and learning alongside your child is part of the process.
There are many free courses, webinars, and online communities that can help you build confidence over time. Following AAC providers and practitioners can also give you ideas and reassurance.
If you are in North Yorkshire, or nearby, you are very welcome to come along to one of my AAC and Assistive Technology drop-in sessions in Northallerton. They are designed to be low-pressure, practical, and supportive, a place to ask questions and explore options at your own pace.
You do not have to have all the answers before you begin. Starting is often the most important step.